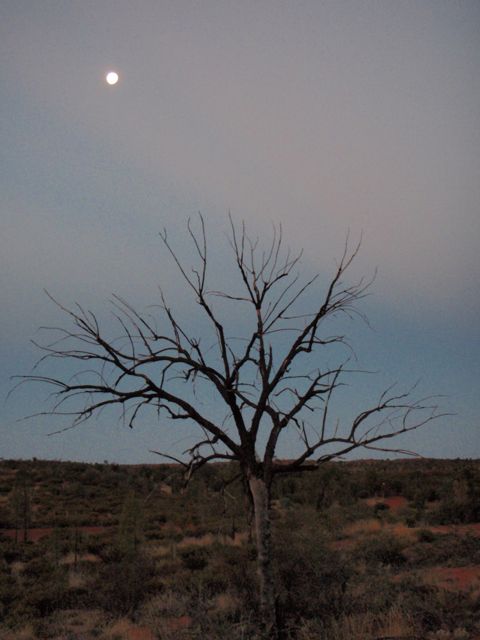
Uluru at Sunset
Page: 4 of 20 (20%)